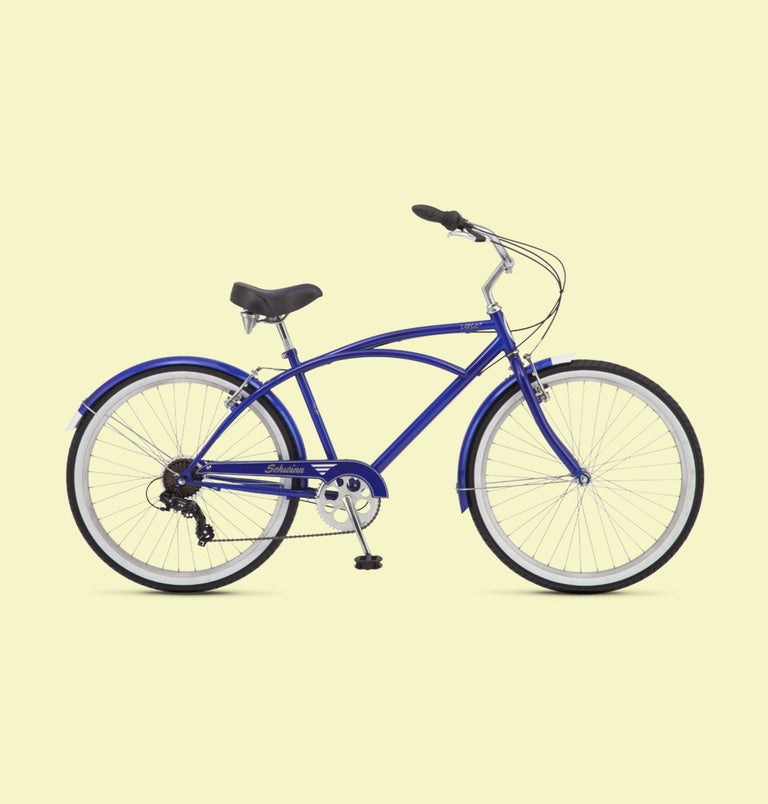
You’re one step closer to hittin’ the pavement on your new Schwinn cruiser! Before riding, always make sure your tires are inflated and that your brakes are working properly. Read the quick start guide below and your Schwinn bicycle owner’s manual. Both contain important safety information.
You’ll need the following tools:
- 4, 5 and 6mm hex keys
- Flat head screwdriver
- Philips head screwdriver
- Box cutter, cable cutter, or scissors
- Pedal wrench or adjustable wrench
Let’s get started!

Unbox
Take all bike parts out of the box and remove packaging materials.

Install Handlebars
Insert the quill of the stem into the steerer tube of the fork past the minimum insertion marking. Tighten the stem with the hex key.

Install Seatpost
Use the wrench to loosen the seatpost binder bolt. Insert the seatpost into the frame past the minimum insertion marking. Tighten the seatpost binder with the wrench.

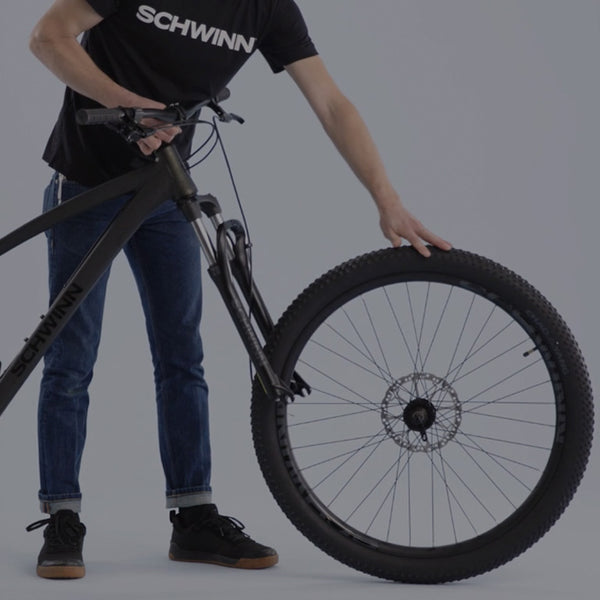
Install Front Wheel
Loosen the nuts at both ends of the axle. Disengage the brake cable from the slotted cable stop on the brake arm. Remove the fork spacer.
Lift the front of the bike and roll the front wheel into the fork dropouts.
Safety washers should be on the outside of the dropouts. Ensure the tab engages the hole on the dropout. Tighten the axle nut. Repeat steps e and f on the other side of the axle, making sure the wheel is centered.

Install Pedals
Use wrench to tighten. Pedals are side specific, check sticker.

Adjustments & Safety Check
Adjust seat height. It should be about hip level when you’re standing next to the bike.

Verify Brakes Work
Roll bike back and forth slightly while operating the brakes.

Check Tires
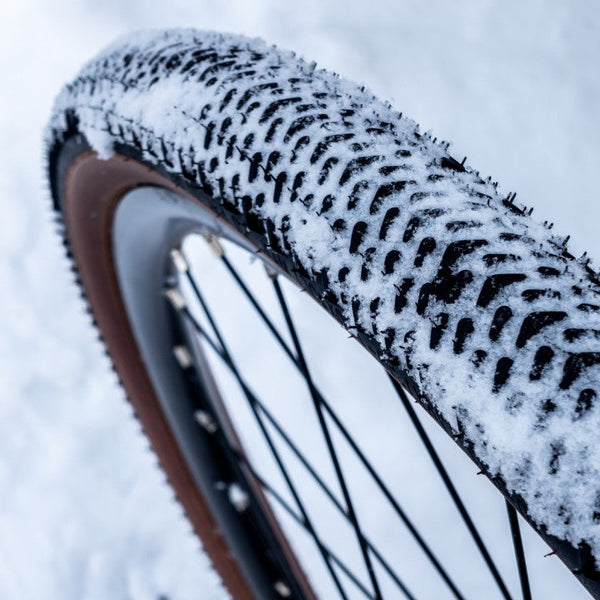
Inflate the tires to the manufacturer’s recommended pressure, which is marked on the tire sidewall.
And that’s it! Just put on your helmet and you’re ready to ride.
